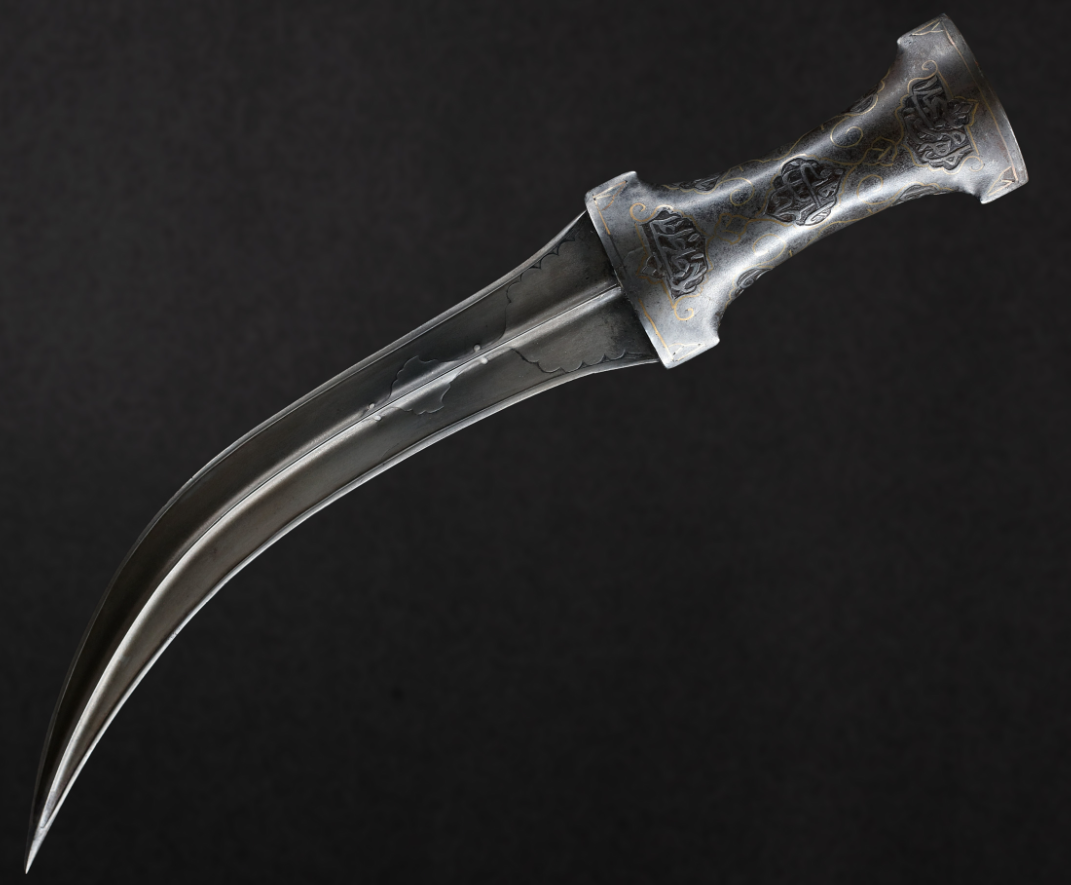
You want to create a khanjar knife replica. Not a weapon—a decorative exhibit. An object that honors the cultural heritage of this famous curved dagger without legal problems and safety risks. Urban makerspaces provide the tools. Open DXF and STL files give the blueprints. Reclaimed materials become the foundation. This guide shows how to combine these three elements.
Why Does the Khanjar Deserve Recreation?
The khanjar is a double-edged curved dagger with deep roots in the cultures of the Arabian Peninsula, especially Oman, Yemen, and Saudi Arabia. Its distinctive J-shaped blade and richly decorated handle have served for centuries as a symbol of heritage and craftsmanship. Modern makers recreate it for cosplay, historical education, cultural exhibitions, and design study—never as a functional weapon.
A decorative replica serves multiple purposes:
- Design students analyze the ergonomic geometry of the handle.
- History teachers use it to teach about trade routes and the evolution of metallurgy.
- Cosplayers need accurate props for Middle Eastern historical characters.
All these applications require a safe, non-functional version that conveys the visual essence without the legal complexities of blade-making.
The cultural significance of the khanjar extends beyond aesthetics. In Oman, it remains part of the national costume and is depicted on the state emblem. In Yemen, different handle styles indicate the regional origin of the owner. Creating a replica allows studying these cultural codes without acquiring a genuine antique weapon, which can cost thousands of dollars and requires special storage permits.
Where to Find Open DXF and STL Files for Khanjar Designs?
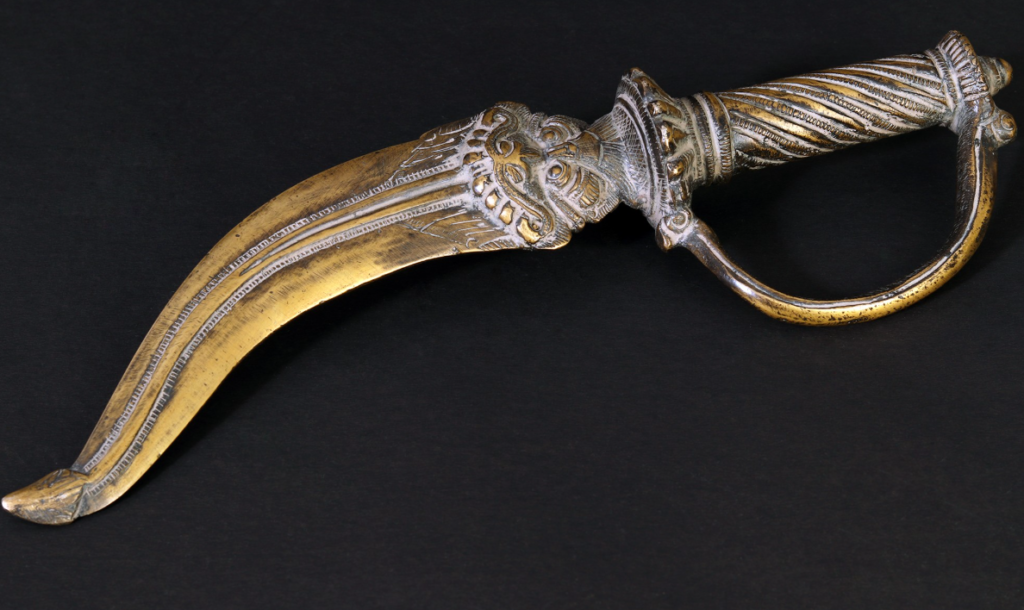
Start with platforms like Thingiverse, MyMiniFactory, and Printables. Search for “khanjar,” “jambiya,” or “Arabian dagger.” Filter results by license—look for Creative Commons Attribution or Public Domain tags. These allow modification and non-commercial use without legal restrictions.
GitHub repositories sometimes contain parametric CAD files. Search for “khanjar OpenSCAD” or “dagger Fusion360.” Parametric files allow adjusting blade length, handle thickness, and curve radius to fit your material constraints or specific historical examples.
Platforms like GrabCAD and Wikifactory host engineering models. They often include assembly instructions and material specifications. Download both two-dimensional vector files (DXF for laser cutting) and three-dimensional polygon files (STL for printing). You’ll use different files for different components.
File Verification Steps:
- Open DXF files in LibreCAD or Inkscape. Ensure contours are closed and dimensions are realistic.
- Import STL files into Meshmixer or Microsoft 3D Builder.
- Check for mesh errors, non-orientable edges, or inverted normals. Fix them before sending files to makerspace equipment.
File quality varies significantly. Models from experienced designers include proper wall thickness for printing, material shrinkage compensation, and alignment marks for multi-component assemblies.
How Do Urban Makerspaces Support This Project?
Makerspaces provide three critical resources: equipment access, material supplies, and collective knowledge. Most charge 3000-9000 rubles for monthly membership or 600-1800 rubles for hourly rental. This is more cost-effective than buying a laser cutter for 180,000 rubles or a 3D printer for 48,000 rubles for a single project.
Equipment you’ll use includes:
- Laser cutters: for flat blade profiles and handle overlays.
- 3D printers: for complex handle details and sheath components.
- Hand tools: files, sandpaper, adhesives.
- CNC mills & heat guns: for thicker materials and forming thermoplastics.
Staff training is mandatory. Expect 30-60 minute orientations on each machine. You’ll learn material settings, safety protocols, and file preparation. The network effect of makerspaces amplifies individual capabilities. One evening workshop on surface finishing can provide techniques that would take months to discover independently.
Which Reclaimed Materials Work Best for Safe Decorative Blades?
- Cardboard: Glue 3-5 layers with wood glue, clamp overnight, then laser-cut the blade profile.
- Reclaimed Wood: Pallets or old furniture provide authentic weight. Avoid treated lumber (toxic when cut) and particle board.
- High-density Polyethylene (HDPE): From milk bottles and detergent containers. Melt and heat-press into 3-6mm thick panels ideal for laser cutting.
- Aluminum: From old road signs or printing plates. Use a CNC mill or jigsaw (lasers don’t cut metal).
Material Comparison for Khanjar Blade Base:
| Material | Weight | Rigidity | Laser Compatibility | Cost | Best For |
| Cardboard (5 layers) | Very light | Medium | Yes | Free | Cosplay, lightweight exhibits |
| Reclaimed wood | Medium-heavy | High | Yes (slow) | 0-600 rubles | Museum replicas, education |
| HDPE (recycled) | Light | Medium-high | Yes | Free | Outdoor events, children’s programs |
| Aluminum (salvaged) | Heavy | Very high | No | 0-900 rubles | Premium exhibits, photo props |
How to Adapt Open Files to Chosen Materials?
Material thickness determines all dimensional adjustments. If your DXF file is designed for 3mm plywood and you’re using 5mm cardboard, compensation is necessary. Measure actual material with calipers.
- Kerf compensation: Accounts for material removed by the laser beam (usually 0.1-0.3mm). Offset contours inward by half the difference.
- Scale adjustments: Maintain proportions. If you scale blade length to 80%, scale handle dimensions to 80% too.
- Layer alignment: Add small 3mm alignment holes to your DXF file. Insert pins or toothpicks through holes during gluing to prevent shifting.
- Grain direction: In wood, always orient the blade’s long axis parallel to the grain. Wood is 3-10 times stronger along the grain than across it.
What Is the Step-by-Step Assembly Process?
- Blade Fabrication: Cut all layers before gluing. Apply even clamping pressure and allow full cure time.
- Shaping: Use rasps and files to create the characteristic taper and curve. Sand progressively from 80 to 220 grit.
- Handle Construction: 3D print ornate pommels from PLA or PETG (0.2mm layer height, 20% infill).
- Final Assembly: Attach handle scales to the tang, add the pommel, then add decorative elements. Use E6000 adhesive for bonding dissimilar materials.
- Decoration: Use leather cord or aluminum wire to imitate traditional silver wire wrapping.
How to Ensure Legal and Physical Safety of the Replica?
- Dull all edges: Ensure a 2-3mm radius on all edges.
- Round the point: File the point to a 5-10mm dome radius.
- Mark as non-functional: Engrave “REPLICA” or “PROP” on the blade.
- Transport safely: Use a closed case, never carry it openly in public.
- Document intent: Save screenshots of designs and process photos to prove the educational/artistic nature of the project.
The Evolution of Decorative Weapon Recreation
Fifteen years ago, makers used silicone molds and resin casting. It was expensive, toxic, and time-consuming. Molds cost 3000-12,000 rubles and lasted only about 20 casts.
Digital fabrication (3D printing and laser cutting) has democratized this process. It eliminates the need for complex resin chemistry and allows for instant customization through CAD software. The makerspace model distributes equipment costs across many users, making high-end tools accessible to everyone.
The Argument Regarding Traditional Craft Skills
Critics argue that digital recreation ignores traditional blacksmithing skills. While true for professional bladesmiths, digital methods are superior for educators and enthusiasts whose goal is visual accuracy and safety. Digital models act as a form of cultural documentation, preserving the geometry and history of the khanjar even as traditional artisan numbers decline.
Common Mistakes to Avoid
- Skipping material tests: Always cut test squares to find the “sweet spot” for laser power and speed.
- Ignoring grain direction: Never cut thin wooden parts across the grain.
- Poor surface prep: Sand laser-cut edges to remove the “charred glaze” before painting.
- Over-detailing: Keep features at a minimum of 5mm width for durability.
- Improper storage: Store cut parts flat and in dry conditions to prevent warping.
Finishing Techniques for Authentic Impact
- Base Coating: Use automotive primer and metallic spray paint (3-4 light coats).
- Weathering: Apply a 10:1 water-to-paint wash (black/brown) and wipe it off to highlight recesses.
- Metallization: Sand raised edges to expose lighter layers, mimicking natural wear.
- Handle Patination: Use sponges and irregular brown tones to imitate organic materials like horn or exotic wood.
- Clear Coat: Use matte or gloss polyurethane to seal the paint and protect the piece.
Connection to Maker Culture Values
This project embodies open sharing, resource efficiency, and accessible learning. It proves that through collaboration and digital tools, we can preserve and appreciate complex cultural artifacts using reclaimed waste.
Your Next Steps
- Find a makerspace: Check Hackerspaces.org or FabLabs.io and take a tour.
- Download files: Compare 3-4 STL designs for the right complexity.
- Gather materials: Collect cardboard or plastic before your first training session.
- Document and Share: Post your results on Instructables or Reddit to help the next maker.
The khanjar sword replica you create won’t cut anything. But it will demonstrate your ability to connect digital design, materials science, and cultural appreciation. That’s the real edge.